Lock the essentials
State the details that cannot drift: logo, face, product color, wardrobe or composition.
Practical AI video tutorial
If you are learning how to make ai video with media io, the fastest route is to decide what you already have, choose the matching workflow, and keep the first prompt specific. This guide walks through a text-led path and an asset-led path so you can create a useful draft without losing the original idea.
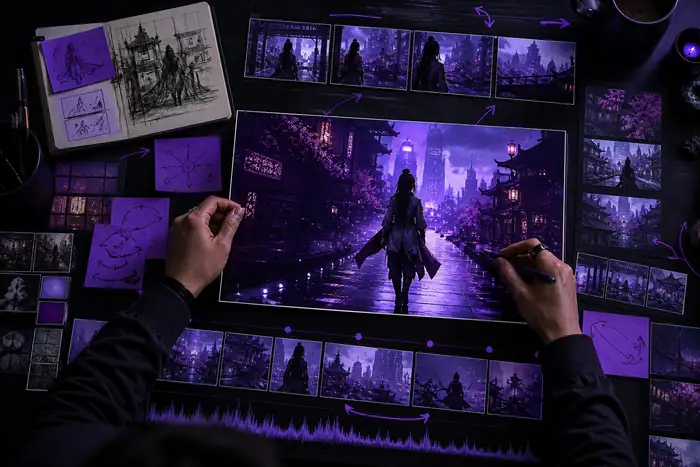
Make the next decision obvious.
The working loop
From brief to usable draft.
Choose a short scene, explainer, product moment or story beat before opening the generator.
Give Media.io a clear subject, action, setting, camera feeling and format to work from.
Change timing, movement, tone or framing one at a time so you know what improved the result.
The best AI video workflow depends less on the tool name than on the material you can provide. Use the table to choose a starting point before you write a long prompt.
| If you have | Choose | Best first instruction |
|---|---|---|
| Only an idea or script fragment | Path A | Describe the subject, action, setting and visual mood. |
| A still image, product shot or character frame | Path B | Explain what should move while protecting the important details. |
| A rough clip that needs a new direction | Path B, then refine | State the transformation, pace and parts of the source to preserve. |
Path A / text-led
Use the text-to-video route when your strongest asset is a concept rather than a finished image. Begin with one visual moment, not an entire film. A compact prompt gives the model room to establish a subject and action while leaving you clear choices for the next pass.
Write the prompt in layers. Name the subject first, then add what it is doing, where it is, how the camera feels, and the emotional temperature. “A cyclist crossing a misty bridge at dawn, slow tracking shot, cool blue light, realistic motion” is easier to direct than a paragraph full of disconnected adjectives.
Try a text prompt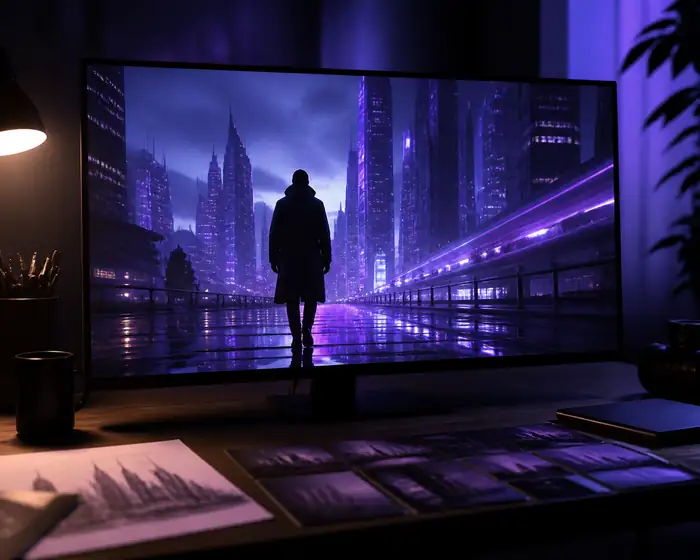
One scene is enough for the first useful draft.
Prompt anatomy
Before you generate
A short clip with one action is easier to judge than a crowded sequence. Once the motion feels right, add a second scene, a voiceover or a music bed. This staged approach makes the AI video process more predictable and gives every revision a clear purpose.
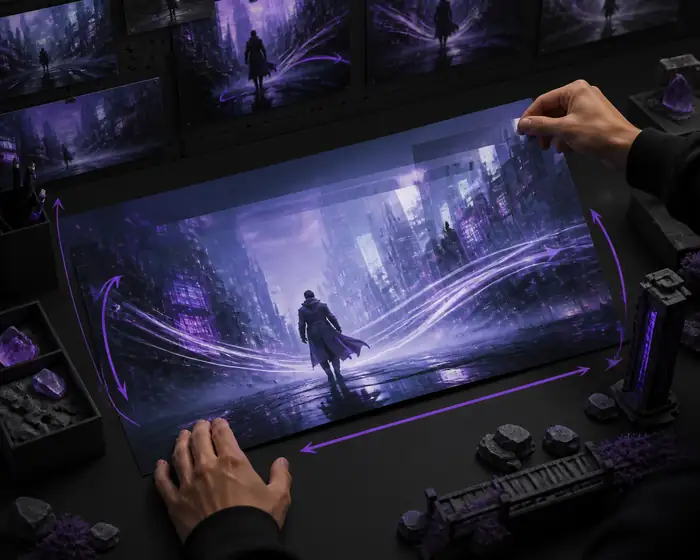 Asset-led motion
Protect the frame. Direct the movement.
Path B / asset-led
Choose this route when you already have a product image, character portrait, storyboard frame or rough clip. Your source provides visual continuity; the prompt should focus on motion, camera behavior and atmosphere instead of rewriting every detail already visible.
Start by naming what must stay stable. For a product, protect its shape, label and placement. For a character, protect the face, costume and silhouette. Then add one movement and one camera instruction. This keeps the AI video transformation directed rather than asking the system to redesign the whole shot.
Animate a starting frameState the details that cannot drift: logo, face, product color, wardrobe or composition.
Try a glance, turn, push-in, orbit or environmental movement before combining several.
Change only the camera or tempo between attempts so the strongest version is easy to identify.
Final check / before you keep it
A convincing first draft does not need to be perfect. It needs to communicate the intended moment, hold together from beginning to end, and give you a clear next edit. Run the checks below before adding more scenes or effects.
Quality pass
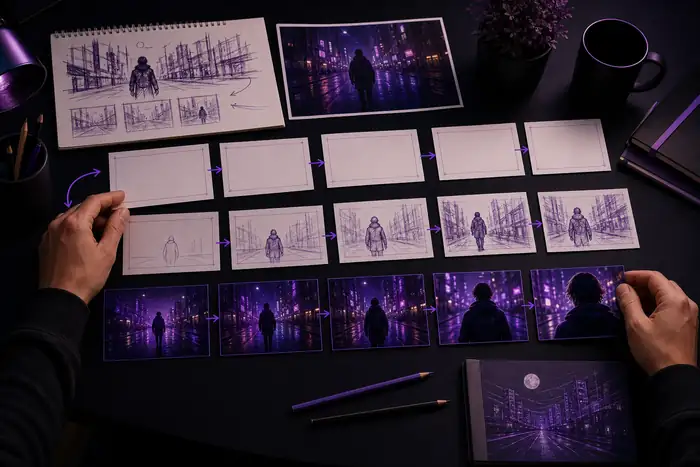 Ready for the next pass
A useful finish line
If the clip communicates its purpose, save it as a reference. Name the next change in plain language—“slower camera,” “brighter background,” or “hold the product still”—then make that single adjustment. This is how a short AI video grows into a coherent sequence rather than a pile of disconnected generations.
Make the next passHow this format evolved
Creators learned that a single visual beat was more controllable than asking for a complete production at once.
Image-led workflows made it easier to carry a character, product or visual style into a moving shot.
Text, images, motion and sound became parts of one creative loop instead of isolated experiments.
The practical advantage is not more instructions; it is knowing what to preserve and what to change next.
Tutorial FAQ
These answers focus on the text-to-video and explainer-video routes, where a clear brief and deliberate scene structure make the biggest difference.
Know the boundaries
A practical tutorial should make the limits visible. Treat these as planning notes, not reasons to abandon the idea.
A single generation can suggest a scene, but a longer story still needs decisions about continuity, order and pacing.
Workaround: write one sentence for each scene before generating the sequence.
Small labels, intricate hands, exact typography and complex interactions may shift between attempts.
Workaround: keep critical details large, simple and easy to inspect in the frame.
More descriptive words will not solve a scene that has no defined audience, action or intended takeaway.
Workaround: state what the viewer should notice first and remove everything that competes with it.
Variation is part of creative exploration, so some clips will be useful as references rather than final outputs.
Workaround: save the strongest direction, then refine that route instead of starting over randomly.
Your next scene starts here
Turn a clear idea into a moving first draft.
Choose text or an existing frame, make one focused request, and use the result to decide what comes next.
Start creating for free