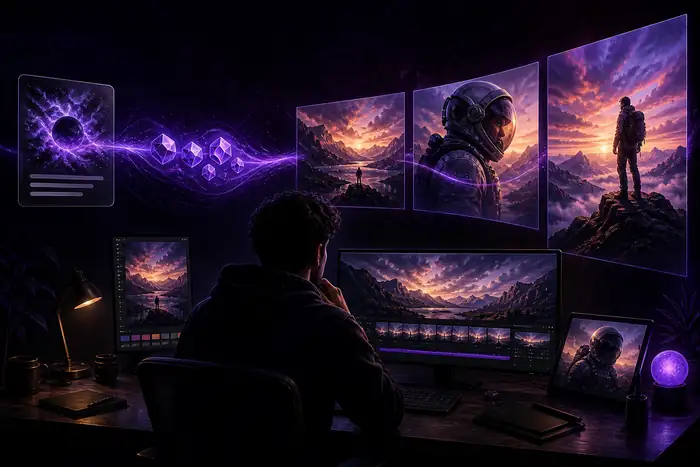
How to use media io and turn an idea into finished content.
This guide shows how to use media io from the first prompt to a shareable result, with a clear AI video workflow, practical checkpoints, and fixes for the problems beginners usually meet.
A good first session does not require a production team. It needs a focused idea, a source asset when one matters, and enough time to review variations instead of accepting the first output.
A specific creative goal. Decide whether you are making a short scene, a product ad, a social clip, an explainer, or a music visual.
A usable prompt or asset. Include subject, setting, mood, movement, framing, and the audience or platform when those details affect the result.
A review pass. Plan to compare outputs, adjust one variable at a time, and keep the strongest direction rather than endlessly changing everything.
Optional reference material. A still image, product photo, voice track, script fragment, or visual reference can make the starting direction easier to communicate.
Guide / workflow mapPrompt / asset / output
PrepareShapeReview
The first result is a direction, not a verdict.
C4 / How it works
Numbered steps
Use the same rhythm for an AI video, image sequence, product concept, or audio-led piece: define the outcome, build a first version, then refine with intent.
01 / Direction
Describe the result
Start with the subject and action, then add atmosphere, camera language, color, duration, and format. “A cyclist” is a subject; “a cyclist cutting through blue rain at night, handheld documentary framing” is a direction.
02 / Build
Choose the right input
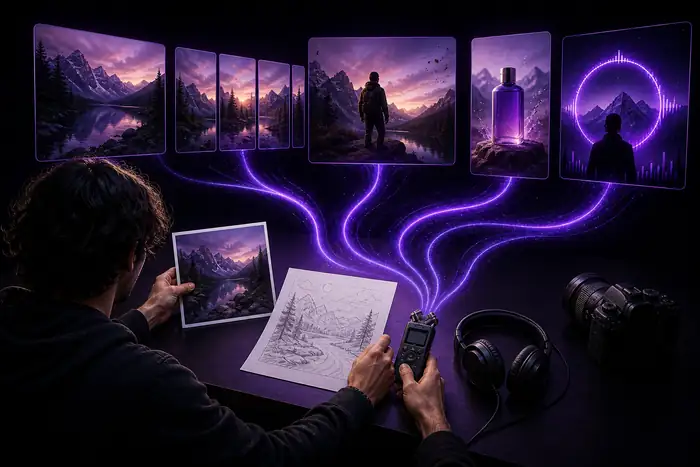
Use text when the idea is still fluid, an image when composition matters, or audio when rhythm should drive the piece. For tighter editing control, move into the Media.io video editor after the first generation.
03 / Refine
Compare and carry forward
Keep the strongest version, identify what works, and change one prompt element at a time. This makes an AI video easier to improve and helps you build a consistent look across several scenes.
Once you know the basic pattern, these connected routes help you move from a general tutorial into a more specific kind of project.
C11 / Troubleshooting
Common errors and fixes
The workflow became easier to use as creators moved from one-off prompts toward repeatable stages. The timeline below turns the most common mistakes into a practical sequence of corrections.
Starting with a vague prompt
Error: asking for “a cool video” leaves too many decisions unresolved. Fix: name the subject, action, setting, mood, shot type, and intended format before generating.
Changing every variable at once
Error: changing style, camera, subject, color, and pacing makes it impossible to know what improved. Fix: preserve the working prompt and edit one meaningful variable per pass.
Treating one output as final
Error: rejecting the tool after one awkward frame or accepting the first usable frame without comparison. Fix: generate a small set, compare the composition, then carry the strongest visual language forward.
Forgetting the destination
Error: designing a landscape scene for a vertical social post or a long opening for a short clip. Fix: choose the aspect ratio, duration, audience, and delivery channel before polishing the final version.
C9 / Improve the next pass
Advanced tips
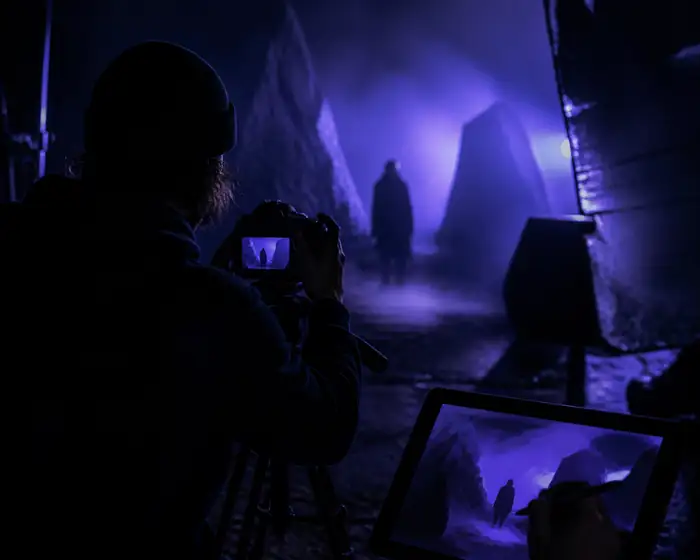
After the basic workflow feels comfortable, make your prompts more modular. Separate the immutable parts of the concept from the variables you want to test. Keep the character, location, and lens language stable while adjusting action, lighting, or pacing.
Before / loose direction
A strong mood, but the action and framing still need a clearer job.
After / shaped direction
The revised brief carries the same mood while making movement and framing easier to follow.
Refine
The useful change is not simply “more detail.” It is better detail: preserve the elements that define identity, then add only the instruction needed to control the next decision.
Use modular prompts
Keep reusable blocks for character, setting, camera, palette, and movement so a new idea does not require starting from zero.
Name what must stay
Repeat the visual anchors that define continuity, especially when a project includes several scenes or related outputs.
Review by purpose
Judge each version against its job: stop the scroll, explain an idea, sell a product, or make a feeling visible.
C7 / Honest boundaries
Tutorial FAQ
A reliable workflow includes knowing what the route can and cannot solve. Use these caveats before you plan a larger project.
It cannot replace a creative brief
A generator can develop a direction, but it cannot decide your audience, message, legal requirements, or brand priorities for you.
Workaround: write the purpose and audience in one sentence before writing the visual prompt.
It may not preserve every detail
Small text, exact product geometry, hands, faces, and repeated objects can vary between generations or scenes.
Workaround: use a clean reference asset, simplify the instruction, and inspect the output before publishing.
It cannot repair weak source audio
A noisy recording, unclear voiceover, or poorly timed track can still limit the finished result even when the visuals are strong.
Workaround: clean or replace the audio first, then build the visual rhythm around its strongest moments.
It cannot choose your final platform preset
The creative workflow helps shape the content, but delivery still depends on the destination's aspect ratio, duration, captions, and file requirements.
Workaround: decide the destination early and perform a final export check for dimensions, sound, and readable text.
Start with one short outcome and one clear subject. Choose either a text prompt or a reference asset, generate a few directions, and keep the version that best matches your purpose.
Yes. Begin with a simple prompt, use the available examples as references, and make one change at a time. You do not need to understand every control before making a useful first draft.
Repeat the visual anchors that should remain stable, such as character description, location, palette, lens, and time of day. Change the action or composition separately so you can see what each instruction does.
Use text when you are exploring the concept, an image when composition or product appearance matters, and audio when timing or emotion should guide the visual direction.
Review the first and last seconds, confirm the aspect ratio, check text and faces at full size, listen for audio problems, and make sure the visual result supports the original message.