Brand teams
Campaign starters
Turn a product brief into several visual territories before committing to a full shoot or ad treatment.
Pair it with the media io ai video generatorImage creation / focused workflow
Start with a visual idea, explore several directions and keep the strongest image ready for a later edit, animation or campaign.
Start creating for free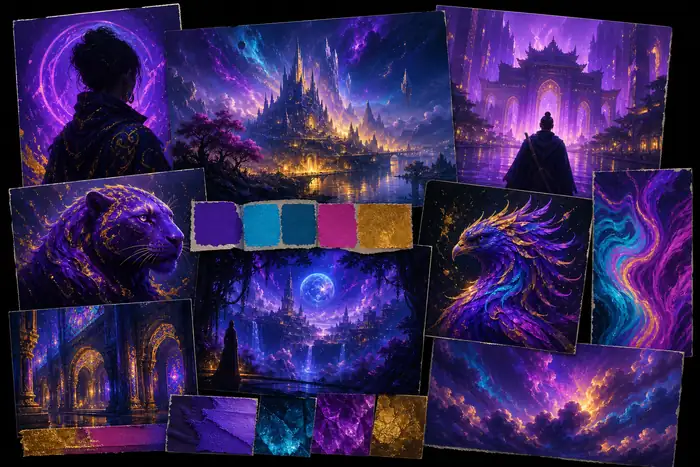
Find the image worth carrying forward.
01 / Before you begin
A useful image pass needs only a clear subject, a visual mood and one decision about where the result will be used.
Name the person, product, place or object that should dominate the frame.
Describe light, color, lens feel, texture and composition instead of relying on one broad adjective.
A square social post, portrait cover and landscape banner each need a different starting frame.
02 / From brief to frame
Write a compact brief such as “editorial portrait, cobalt rim light, reflective fabric, clean background.” The image generator can then give you a starting set to inspect rather than forcing you to over-specify every pixel. If the still needs movement, continue with the AI video route; for a sound-led visual, use the music workflow. When the image is already close and only the cut needs shaping, the editing route is the more direct next step.
Brand teams
Turn a product brief into several visual territories before committing to a full shoot or ad treatment.
Pair it with the media io ai video generatorSocial creators
Explore a strong portrait, thumbnail or title card that gives a short-form idea an immediate visual hook.
Shape the final cut with the media io video editorMusicians
Translate a track’s emotional tone into cover art, visualizer backgrounds or a repeatable world.
Move from image to the media io music generatorEducators
Create a focused illustration or scene that makes an abstract lesson easier to introduce and remember.
Start a visual direction03 / Output planning
Use the slider as a planning shortcut. It estimates how a larger exploration pass changes the working canvas and the time saved versus rebuilding each direction manually.
A planning estimate, not a promise of output volume or processing speed.
04 / Honest edges
An image generator is most useful when its weak spots are visible early. Treat the first output as direction, then refine the brief or switch tools when the job changes.
Small labels, logos and long paragraphs may arrive with misspellings or unstable letterforms.
Workaround: leave clear space and add final type in the editor.
A bottle, device or package can drift in shape when the prompt asks for too many changes at once.
Workaround: use a clean reference image and simplify the scene.
The image route creates a still; it does not guarantee character continuity or camera movement across frames.
Workaround: hand the strongest frame to the video workflow.
05 / Capability map
This side-by-side view keeps the image generator’s role distinct from connected video and editing work.
| Attribute | Image route | Connected workflow |
|---|---|---|
| Primary input | Text prompt or reference | Prompt, image, video or audio |
| Best output | A strong still frame | A shaped moving piece |
| Fast style exploration | Yes | Yes |
| Frame-by-frame motion | No | Yes |
| Audio-led visual direction | No | Yes |
| Useful first step | Describe the frame | Choose the complete workflow |
06 / A useful first pass
Use the first set to compare composition, color and subject treatment. The real gain is reaching a decision sooner, not accepting the first image unchanged.
07 / Compare and continue
The useful transformation is not simply “more detail.” It is a clearer relationship between subject, atmosphere and intended use.

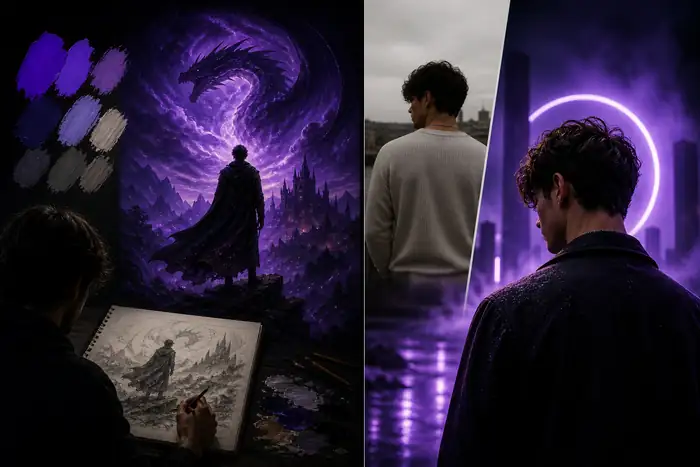
Compare the subject first, then the light and composition. If the image is carrying the right idea, it is ready for a connected next step.
Questions creators ask
A few practical answers before you begin your next image pass.
Open the studio